Branding & Settings
The Settings page is your control center for platform identity, email delivery, storage, and global preferences. White-label the entire interface so agents and supervisors see your brand — not ours.
White-Label Branding
Section titled “White-Label Branding”Customize the platform’s appearance to match your brand identity. Every visual touchpoint — from the login screen to email notifications — reflects your branding.
Customizable Elements
Section titled “Customizable Elements”| Element | Description |
|---|---|
| Platform Name | Appears in the sidebar, header, page titles, and all outbound emails |
| Logo | Custom image shown in the sidebar navigation and login page |
| Favicon | Browser tab icon — visitors see this in their tab bar |
| Theme Colors | Primary and accent colors applied across buttons, links, and highlights |
| Login Page | Custom background image and welcome message for the sign-in screen |
How to Update
Section titled “How to Update”- Navigate to Admin > Settings > Branding
- Upload your logo (PNG or SVG, recommended minimum 200x60px)
- Upload your favicon (ICO or PNG, 32x32px or 64x64px)
- Set your platform name
- Choose theme colors using the color picker or enter hex values
- Click Save — changes take effect immediately across all active sessions
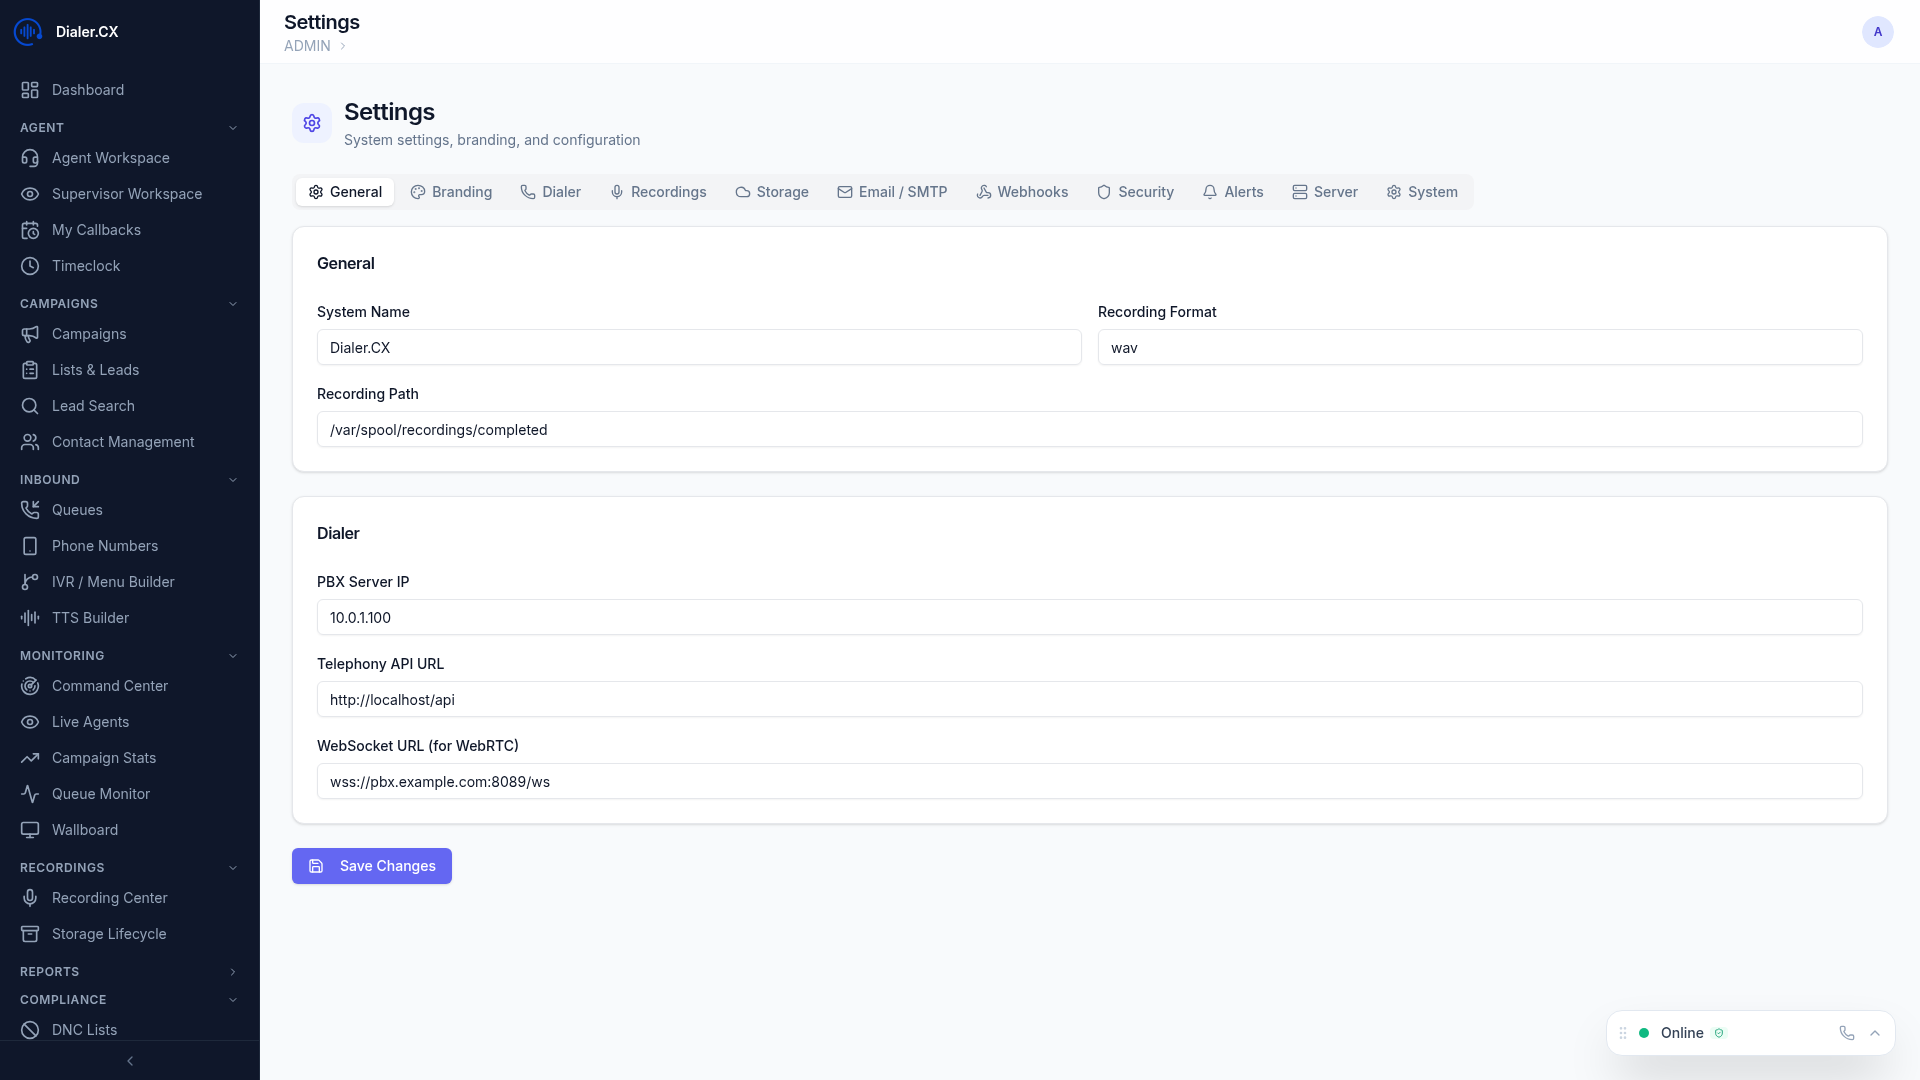
System Settings
Section titled “System Settings”General
Section titled “General”- Platform name and default timezone
- Date and time format preferences (12h/24h, date ordering)
- Default language for new user accounts
Email / SMTP
Section titled “Email / SMTP”- Mail server configuration for all outbound email (onboarding, reports, alerts, 2FA codes)
- Sender name and address (e.g.,
noreply@yourcompany.com) - Support for any SMTP provider, including cloud email services and self-hosted servers
- Built-in test email button to verify delivery before going live
- See Email Integration for detailed setup
Recording Storage
Section titled “Recording Storage”- Cloud storage configuration for recording archival (S3-compatible)
- Automatic upload via background cron job
- Retention policies to manage storage costs
- See Cloud Storage for bucket setup
Security
Section titled “Security”- Session timeout duration (default: 8 hours)
- Two-factor authentication enforcement policy
- Password complexity requirements
- See Security & 2FA for full details